Getting signal quality right isn’t just a bonus — it’s more or less the backbone of any setup using coaxial cables. Whether you’re running test benches or wiring lighting controls, the tiniest hiccup at the connector can throw everything off. So, if you’re wondering how to join coaxial cables with connectors properly, this guide might just save you a headache or two.
We’ll walk through how to prep your cable, pick the right connector, and attach it cleanly — the kind of technique that engineers, technicians, and project leads can depend on. For a quick refresher, our blog breaks it down clearly for different cable types.
Stripping the Coaxial Cable Correctly
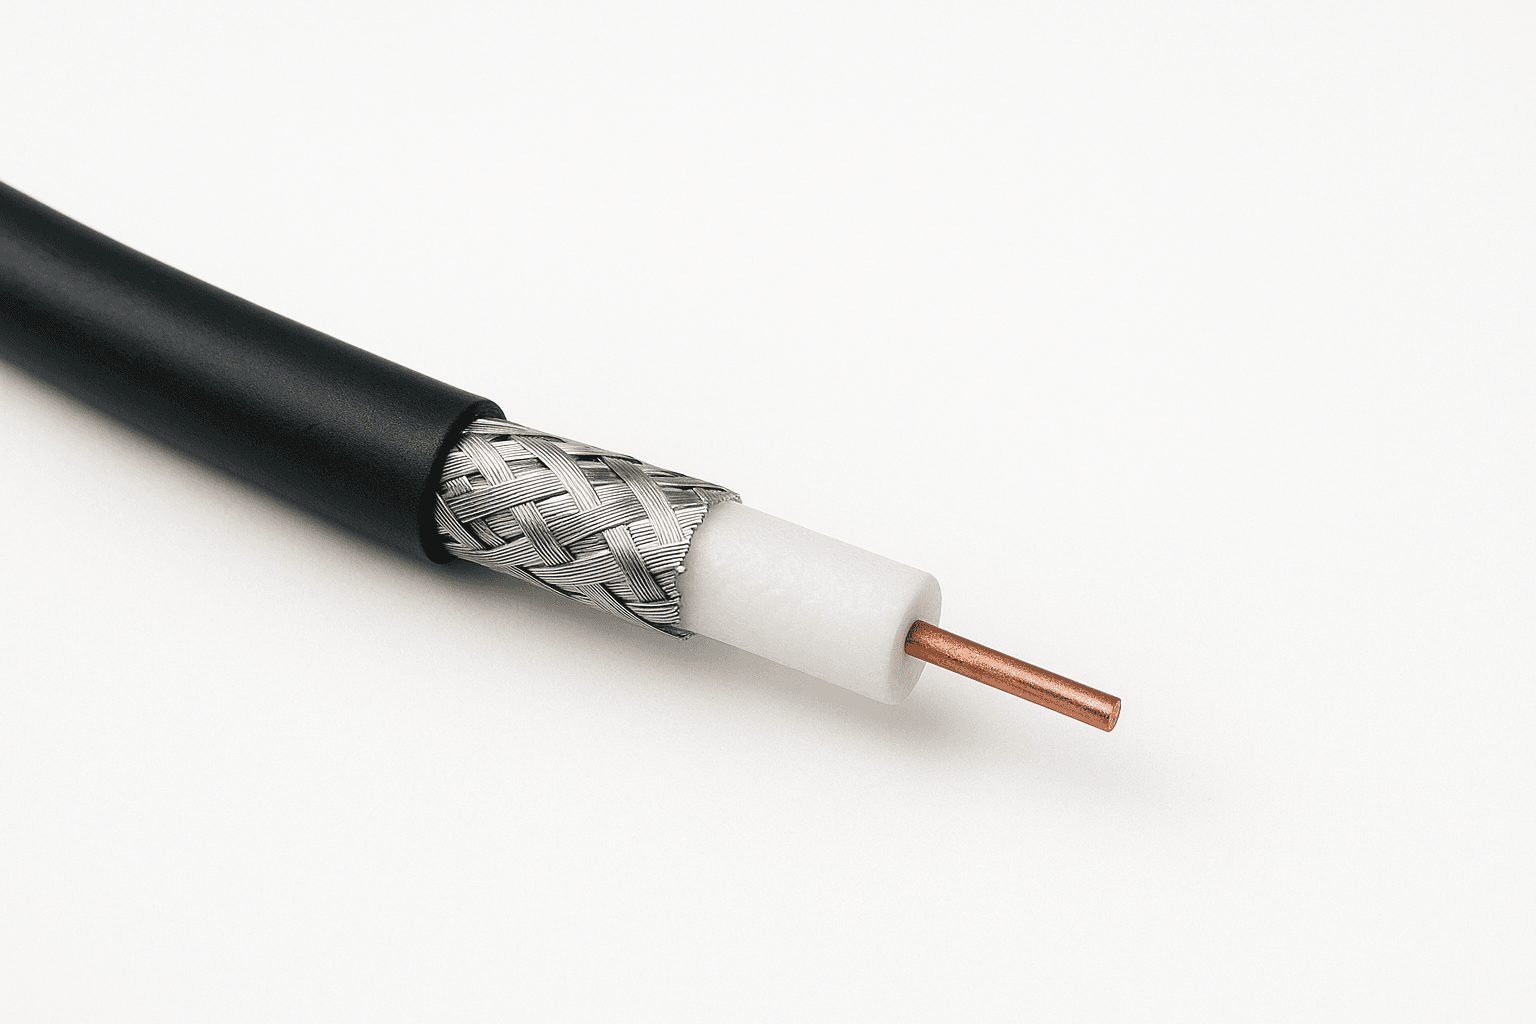
Stripping coaxial cable isn’t just the first step — it’s arguably the one that sets the tone for everything else. Strip too deep, and you might nick the core or tear the shielding; too shallow, and the connector won’t seat properly. The aim is a clean, layered reveal: centre conductor, dielectric, shielding, and jacket — all trimmed to spec.
Using a coaxial cable stripper tool makes this process fairly straightforward, as it’s designed to remove each layer in one go. But even then, a gentle touch and steady hand go a long way. Manual tools offer control, yet they need careful adjustment for the cable type.
So, before thinking about crimping or soldering coaxial cable, it’s worth getting the strip just right — clear, even, and damage-free. That’s what gives your connection the best chance of holding firm.
Preparing the Shield and Dielectric
Once the cable’s stripped, your attention shifts to arranging the shielding and preserving the dielectric. This bit often gets rushed — yet it’s where signal strength can start to slip.
The braid, or foil shielding, needs folding back smoothly against the outer jacket. Avoid bunching or breaking the strands, since uneven shielding means patchy protection from interference. Then, check the dielectric. It should remain uncrushed and centred — its job is spacing the conductor properly, and any dents might mess with signal flow.
Common mistakes to avoid:
- Tearing or fraying the shielding while folding
- Crushing the dielectric when trimming
- Leaving loose strands that could short the signal
- Overhandling, which weakens the material
Good cable shielding techniques here make all the difference. It’s not flashy, but it matters — and you’ll know if it’s gone wrong once the signal starts flickering.
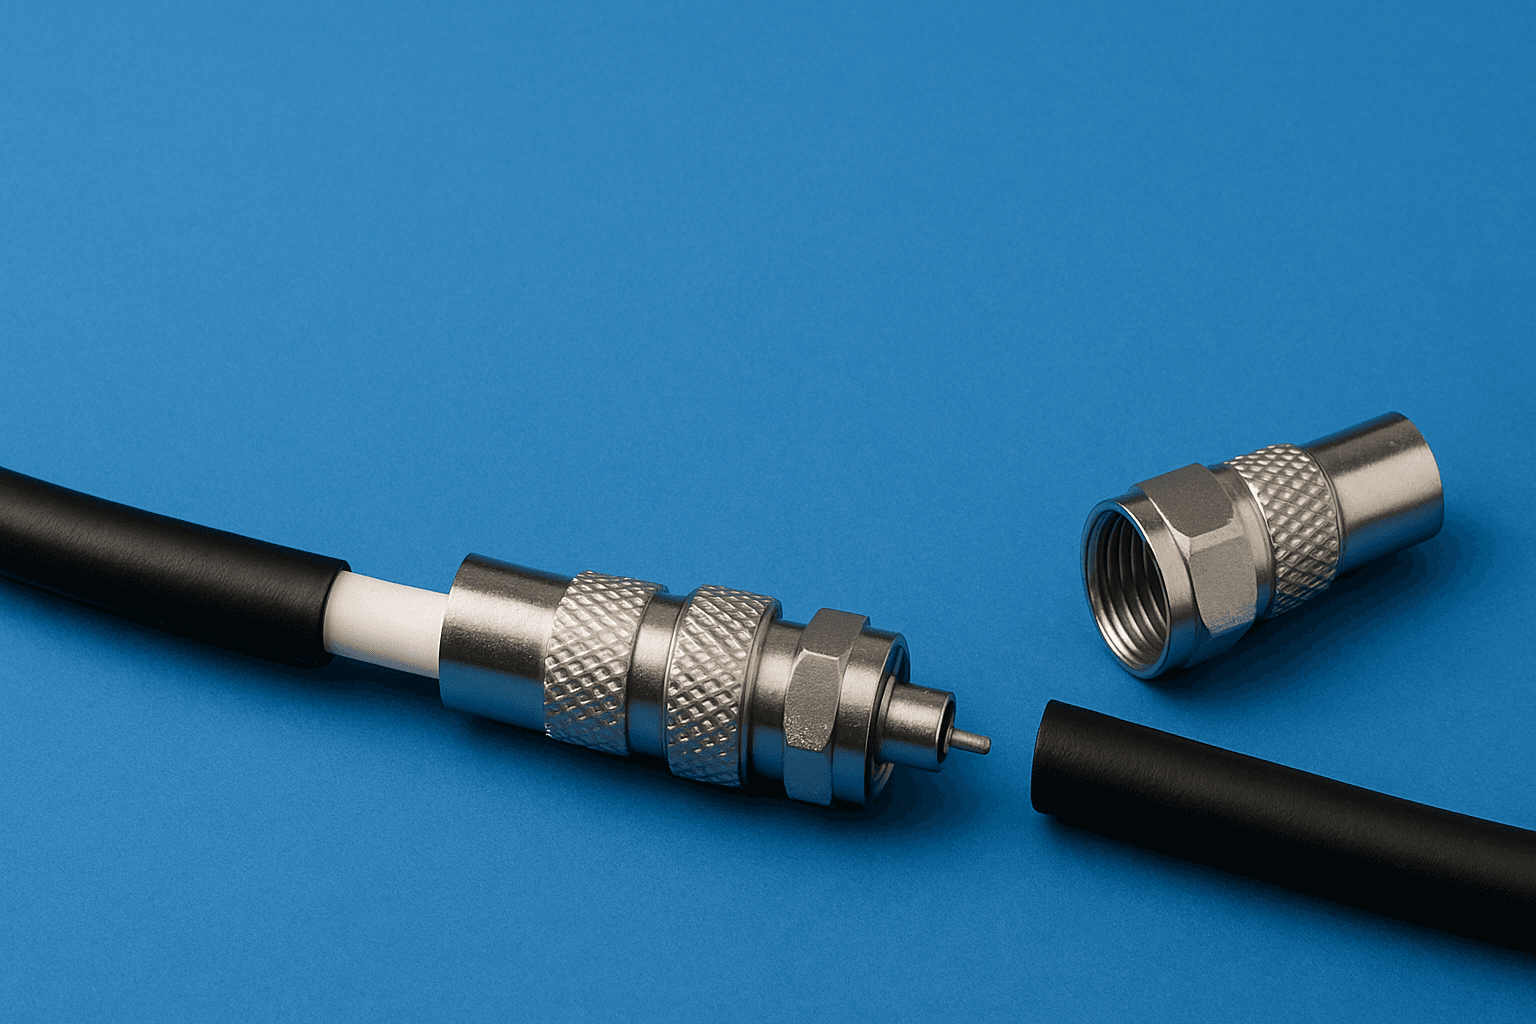
Choosing the Right Connector Type (BNC, F-Type, SMA)
Not every coaxial connector fits every job — so picking the right one early can save you a lot of fiddling later. The connector needs to match your signal type, frequency, and the space you’ve got to work with. And yes, size does matter, but so does how often you’ll be connecting and disconnecting.
Here’s a quick comparison:
| Connector Type | Use Case | Characteristics |
| BNC | CCTV, test gear | Quick twist-lock, easy to reuse |
| F-Type | TV, broadband | Screw-on, low-cost, great for static setups |
| SMA | RF, data comms | Threaded, compact, high-frequency capable |
For example, if you’re figuring out how to attach a BNC connector to lab equipment, you’ll want speed and repeatability. If it’s an F-type connector installation for a permanent fit-out, the budget-friendly screw-on might be better.
Choosing right avoids coaxial cable termination issues down the line. To explore solutions designed for precision and reliability, take a look at Altimex’s Interconnect cable service.
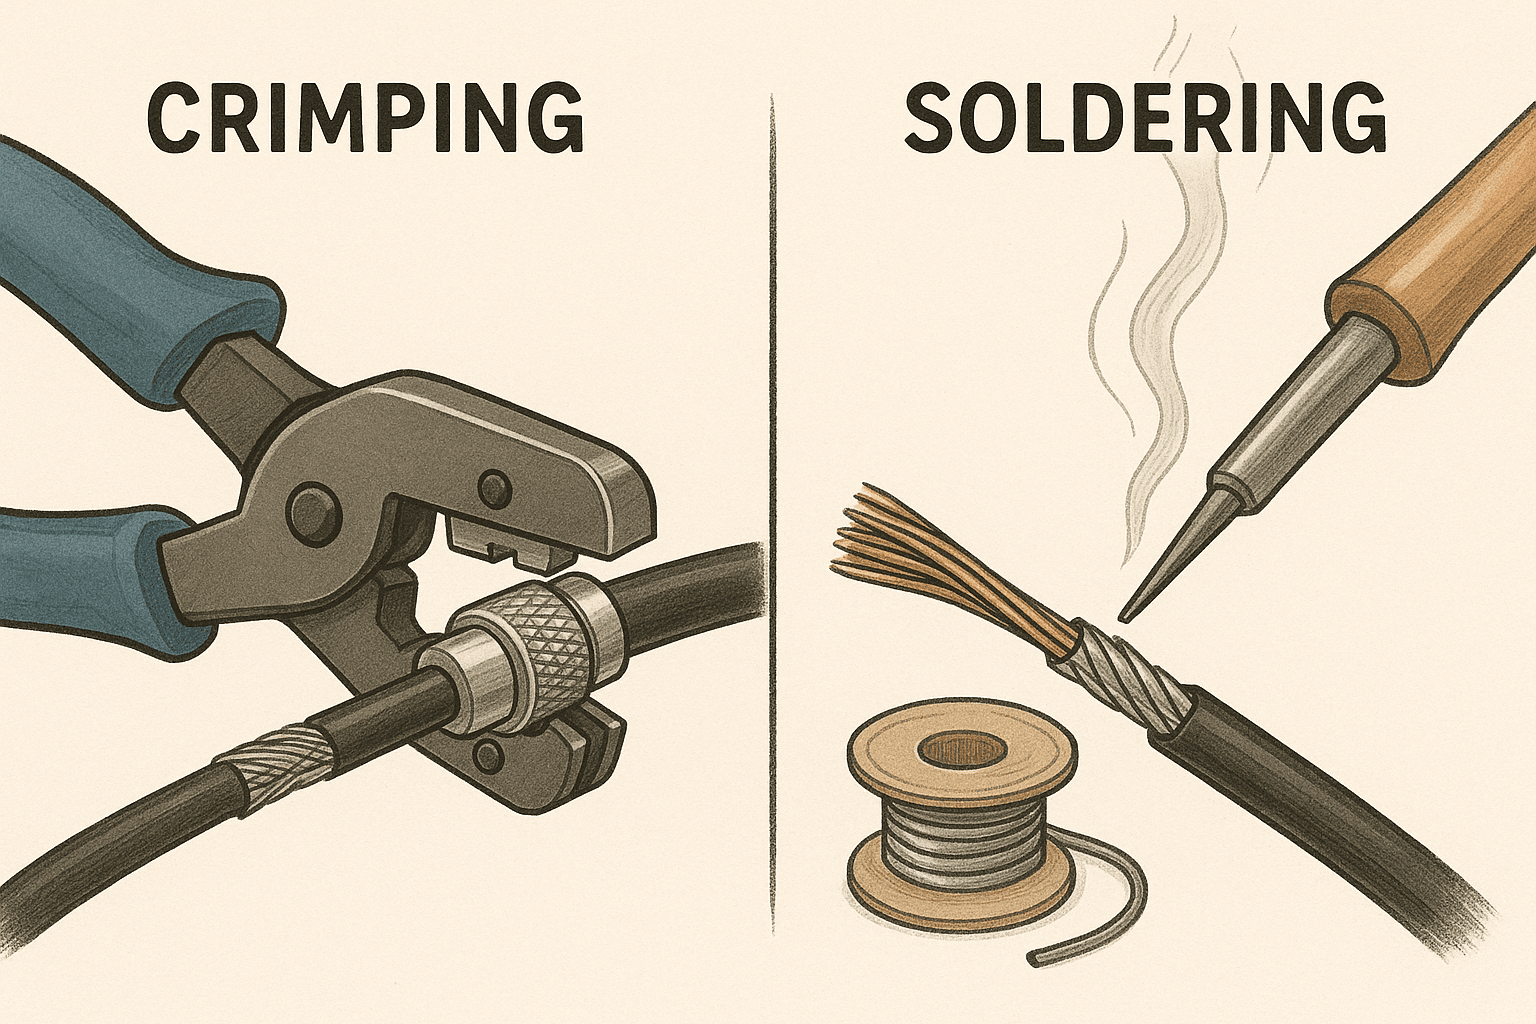
Crimping and Soldering Techniques
Different jobs call for different finishes — and when it comes to joining coaxial cables, that’s usually crimping or soldering. Both work, yet each has its quirks.
Crimping tends to be faster and more consistent for high-volume work. It’s a go-to for field techs, as the connection is strong without heating the cable. You’ll need a crimp tool and the right-sized die for your connector.
Soldering, on the other hand, takes a bit longer but gives a very solid join. It’s often chosen when the connection’s permanent or when space is tight.
Crimping steps:
- Insert cable into connector
- Slide crimp sleeve into place
- Use crimp tool to secure the join
Soldering steps:
- Tin the centre conductor
- Slide connector onto the cable
- Solder in place without overheating
So, whether you’re into coaxial cable crimping or soldering coaxial cable ends, the key is making sure it’s clean, secure, and consistent.
Attaching the Connector Step-by-Step
This part’s where things come together — quite literally. The aim is to fit the connector so snugly and evenly that it feels like part of the cable itself. Whether you’re after speed or precision, sticking to a repeatable routine helps.
Here’s a simple step-by-step guide that works across most connector types:
- Check your cable prep — all layers should be trimmed evenly, no nicks or frays.
- Slide on any boots or sleeves — you’ll regret skipping this once the connector’s on.
- Insert the centre conductor into the connector’s pin or cavity — it should go in smoothly, with no forcing.
- Fit the outer jacket into the connector body — the braid should sit flush and even.
- Crimp or solder as needed — do it cleanly, using the correct tool or technique.
- Inspect the result — no gaps, no wobbles, no exposed conductors.
That’s coaxial cable termination done properly — no fuss, no do-overs.
Testing the Connection for Signal Integrity
So, you’ve attached the connector — now what? Well, unless you test it, you’re basically guessing. And in some setups, a weak or faulty connection isn’t just annoying — it can throw off an entire system.
Start simple with a continuity tester. It checks if the signal path is unbroken, which it should be. If there’s no beep or light, something’s off. For more detailed checks, use a coaxial signal tester to spot issues like signal loss, shorts, or impedance mismatches.
What you’re looking for is clean, strong continuity and a stable reading. If that’s not there, chances are something went wrong during prep or attachment. Best catch it now, not after installation.
Ensuring Cable Strain Relief and Protection
A good connection can still fail if it’s under stress, and that’s where strain relief steps in. It’s less about the cable itself and more about keeping the join safe from pulling, twisting, or bending.
Strain relief boots, clamps, or even heat shrink tubing can all add support. Boots give you a bit of flex without strain, while clamps secure the cable to a housing or frame. Heat shrink tidies everything up and adds a slight buffer.
Without some form of strain relief, connectors can loosen or crack over time, especially in systems that get moved or adjusted often. It’s a small step that, in a way, protects all the others you’ve just done. If you’re unsure what will suit your setup best, feel free to contact us for tailored advice.