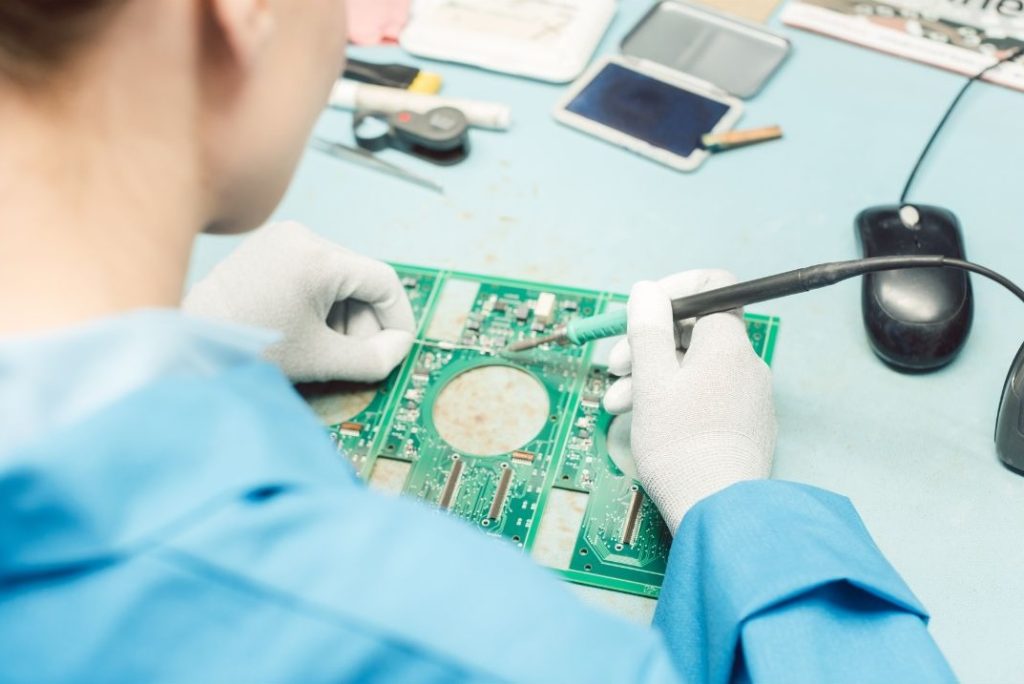
Soldering is a key skill in electronics, used for assembling printed circuit boards (PCBs) and creating strong electrical connections. For beginners, the process may seem challenging, but with the right tools and clear guidance, anyone can learn how to solder. Whether you’re a hobbyist, student, or just starting in electronics, learning basic soldering techniques is needed for building reliable electronic circuits.
In this article, we’ll cover how to solder a PCB circuit board along with the essential tools, preparation steps, and techniques to help you get started with successful soldering.
Essential Tools and Materials Needed

Before starting your soldering project, it’s best to gather the right tools and materials. Here are the essentials you’ll need:
- Soldering Iron: A good-quality soldering iron is key. Look for one with adjustable temperature control, as this helps you work with different components and types of solder.
- Solder: There are two main types of solder—leaded and lead-free. Leaded solder is easier to work with for beginners due to its lower melting point, while lead-free solder is more environmentally friendly and often used in commercial products.
- Helping Hands or PCB Holder: These tools hold your PCB in place while you work, making it easier to position components and apply solder accurately.
- Desoldering Pump: Mistakes can happen. A desoldering pump helps you remove solder from unwanted joints, allowing you to correct any errors.
- Tweezers: These are useful for handling small components and positioning them on the PCB before soldering.
Optional tools that can improve your PCB soldering experience include flux (which helps solder flow more easily), magnifying glasses for precision, and a sponge or brass wool for cleaning the soldering iron tip between uses.
Preparing the PCB for Soldering
Proper preparation is key to getting good results when soldering a PCB. Start by thoroughly cleaning the PCB to remove any dust, oxidation, or contaminants. Using isopropyl alcohol and a lint-free cloth works well for this.
Next, position the PCB securely using a PCB holder or helping hands to keep it steady. This is especially useful when working with small components, as it helps maintain control and accuracy during the process.
Before starting, organise and arrange the components you’ll be soldering. Make sure all parts are positioned correctly on the PCB and check the polarity of components like capacitors and diodes to avoid incorrect connections. Once everything is in place and confirmed, you’re ready to start soldering.
How to Properly Tin Your Soldering Iron
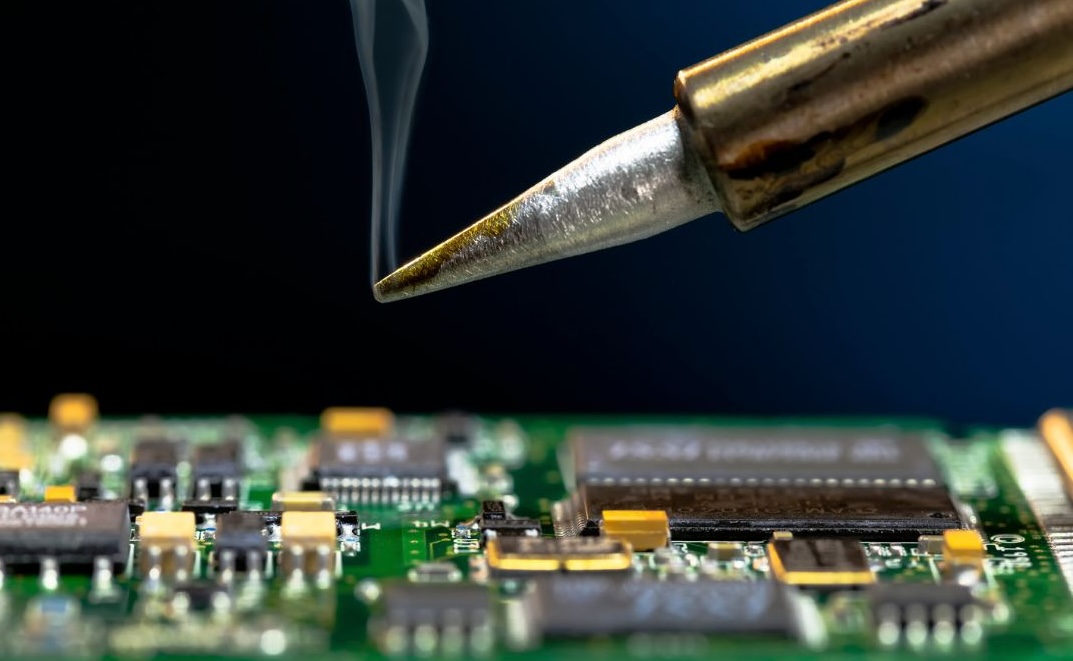
Tinning your soldering iron is a good step towards good heat transfer between the iron and the components. It involves coating the tip of the soldering iron with a thin layer of solder to improve efficiency and extend the life of the tip.
Here’s how to tin your soldering iron step by step:
- Heat the Soldering Iron: Plug in your soldering iron and let it reach the proper working temperature.
- Apply Solder to the Tip: Once the iron is heated, touch the tip with a small amount of solder, allowing it to coat the surface evenly.
- Wipe off Excess Solder: After tinning the tip, use a damp sponge or brass wool to wipe away any excess solder, leaving the tip with a clean, shiny coating.
Regularly cleaning and tinning your iron helps prevent oxidation and provides better results when soldering. Be careful not to overheat the iron or leave excess solder on the tip, as this can lead to poor soldering and reduce the lifespan of the iron.
Step-by-Step Guide to Soldering Components

Now that your tools and PCB are ready, it’s time to start soldering the components. Follow these steps for a successful soldering job:
- Place the Component: Begin by placing the component on the PCB, making sure it is correctly seated and aligned with the holes. For components with polarity, such as diodes and capacitors, double-check that the orientation is correct.
- Heat the Lead and Pad: Use the soldering iron to heat both the component lead and the pad on the PCB at the same time. This step helps create a solid bond between the two.
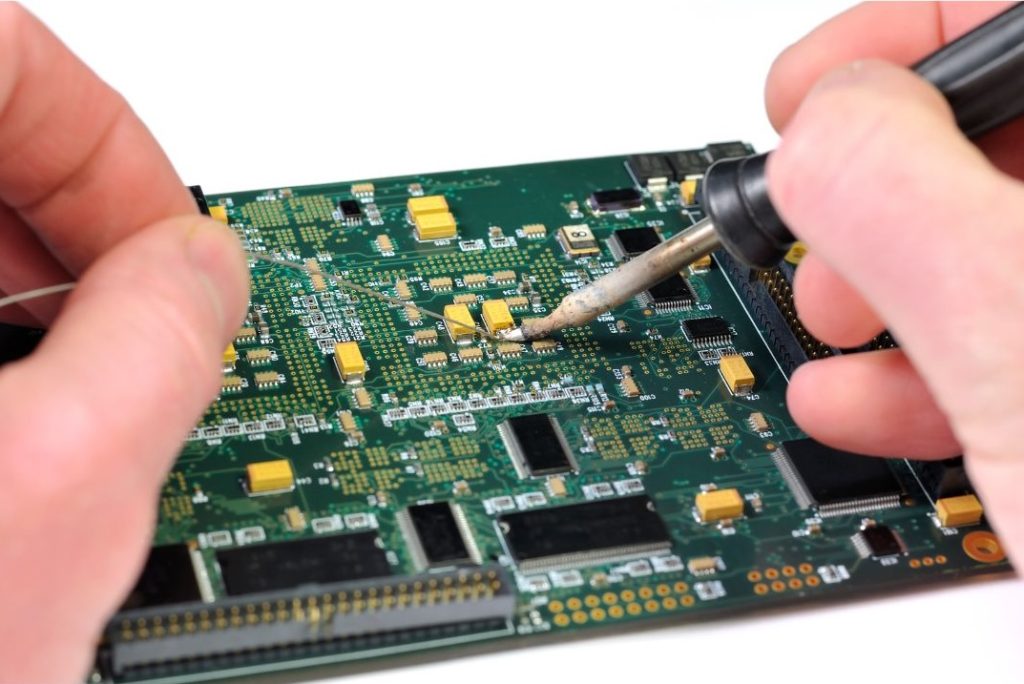
- Apply the Solder: While keeping the soldering iron in place, feed the solder into the joint. The solder should flow smoothly around the component lead and pad, creating a secure connection.
- Remove the Iron: Once the solder has flowed and covered the joint, remove the soldering iron and let the joint cool naturally without moving the component. This allows the joint to be set properly.
- Repeat for All Components: Continue soldering the remaining components, following the same process. Be mindful of more sensitive or complex components like integrated circuits (ICs) or connectors, and use additional care when soldering these parts.
For best results, take your time with each joint and avoid overheating the components or the PCB, as this could cause damage.
Inspecting Your Solder Joints
Once all components are soldered, it’s best to inspect your work to make sure the joints are properly formed and functional. A good solder joint should appear smooth, shiny, and cone-shaped around the component lead.
Here are some common issues to look out for:
- Cold Joints: These happen when the solder doesn’t melt fully, leading to poor electrical connections. They often look dull or cracked.
- Excessive Solder: Too much solder can result in messy joints and potential short circuits. Make sure the solder is only covering the joint and not spilling onto other components.
- Incomplete Connections: If the solder doesn’t fully cover the pad or lead, the connection may be weak and unreliable.
Using tools like magnifying glasses or an inspection microscope can help in closely examining the solder joints. Finally, check the electrical connectivity with a multimeter to confirm that all components are correctly connected.
Mastering the basics of soldering is a step towards building reliable and functional PCBs. By following the right techniques and using the proper tools, anyone can learn how to solder effectively. Remember to prepare your PCB carefully, take your time during the soldering process, and always inspect your solder joints to provide quality connections.
With regular practice and attention to detail, your soldering skills will improve, helping you create more reliable and long-lasting electronic projects.


